ESP8266 vs. ESP32: Which One Is Right for Your Project?
Discover the key differences between ESP8266 and ESP32 microcontrollers. Learn which board is best for your IoT project based on processing power, connectivity, GPIO pins, and more. Choose the right microcontroller for your next build!

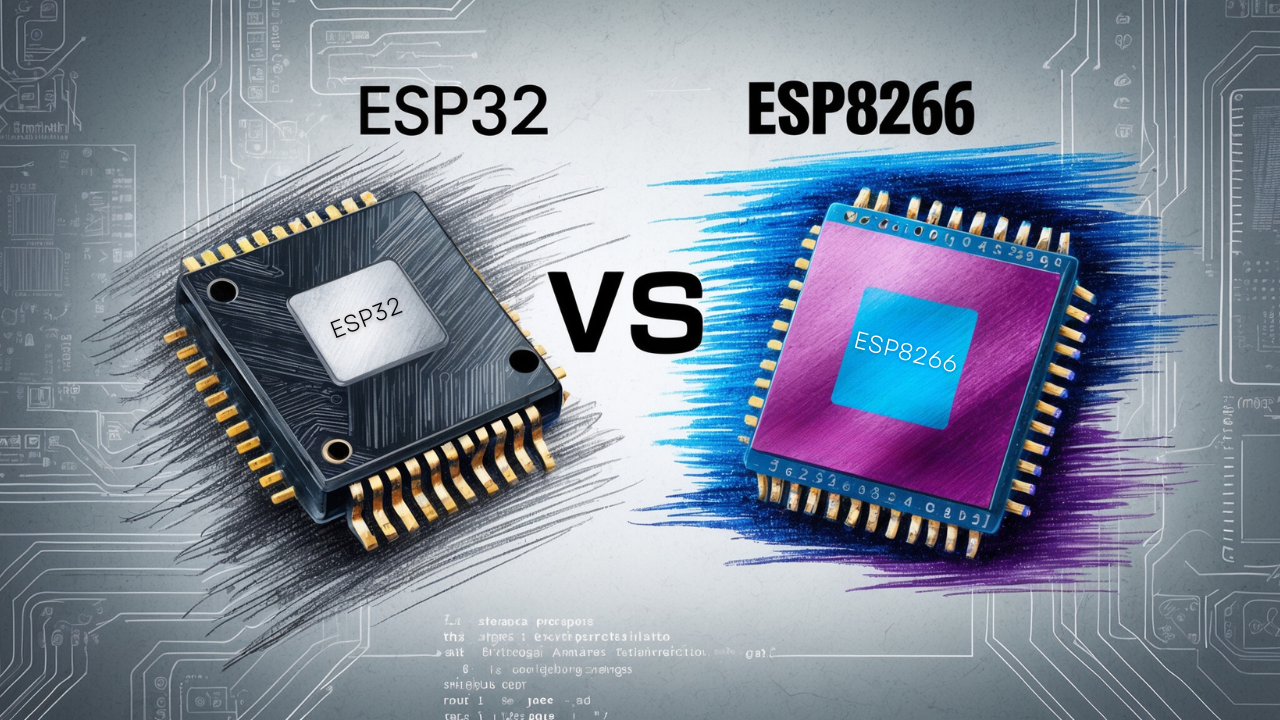
When embarking on an IoT or embedded systems project, choosing the right microcontroller can be a hassle. Espressif Systems created the ESP8266 and the ESP32, which are two popular options in the maker community. While they share some similarities, they also have key differences that can significantly impact your project's performance or complexity. This article will help you understand these differences and guide you in selecting the microcontroller that best fits your needs.
More from Binary Tech {LABS}
Looking for more tips, tutorials, and project ideas? Dive into this article, perfect for enhancing your projects with ESP chipsets:
🔗 Getting Started with ESPHome: Beginner's Guide
Master ESPHome with this detailed guide—perfect for automating your home with ease.
📺 Watch on YouTube: Prefer video? Head over to my YouTube channel for hands-on tutorials, in-depth guides, and tips.
Head-to-Head Comparison
Breaking Down the 7 Key Differences
When comparing the ESP8266 and ESP32 microcontrollers, several key differences emerge that can influence your project choice. Below, we'll break down the major features, showing you which one comes out on top in various categories.


1. Processing Power
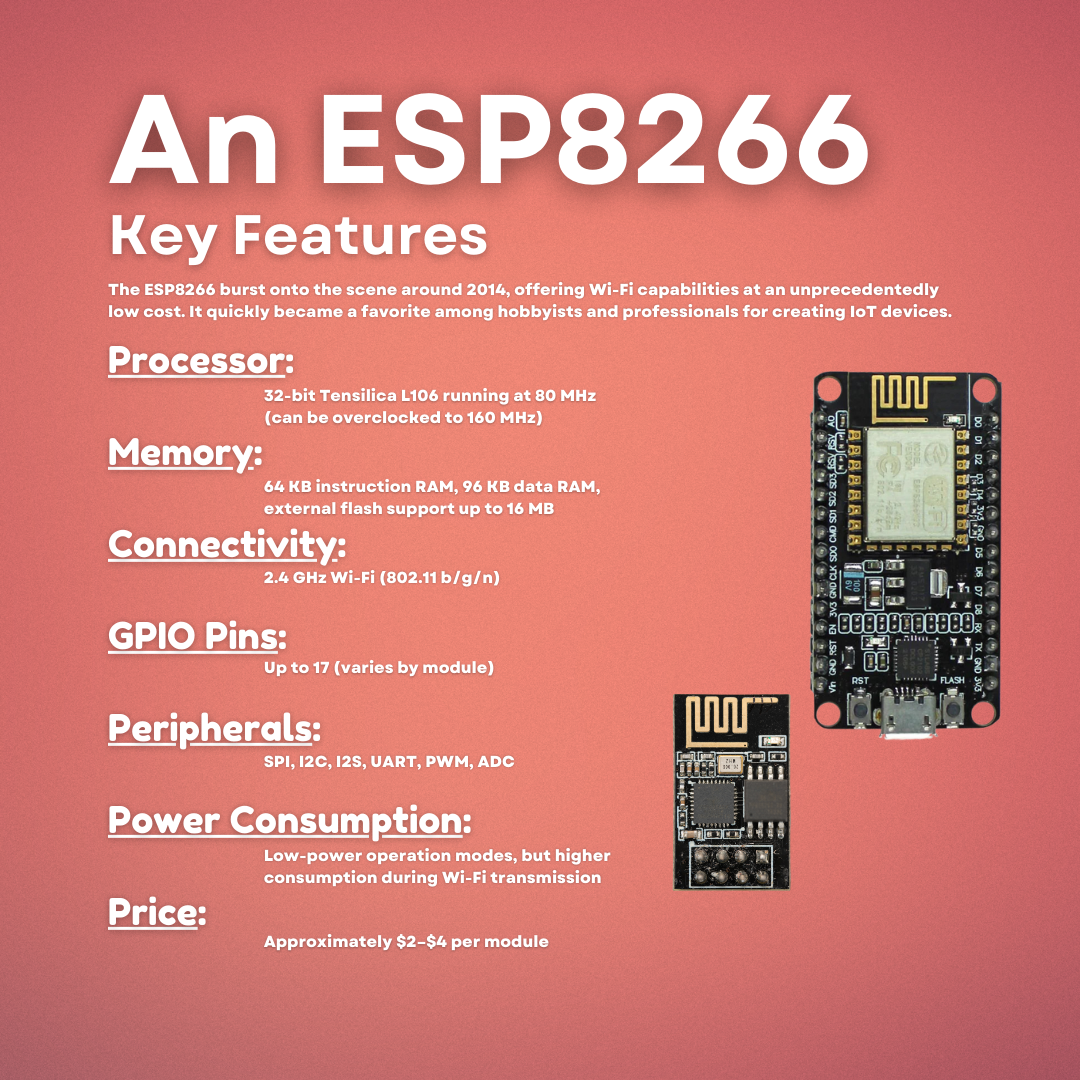
- ESP8266: Single-core processor at 80 MHz.
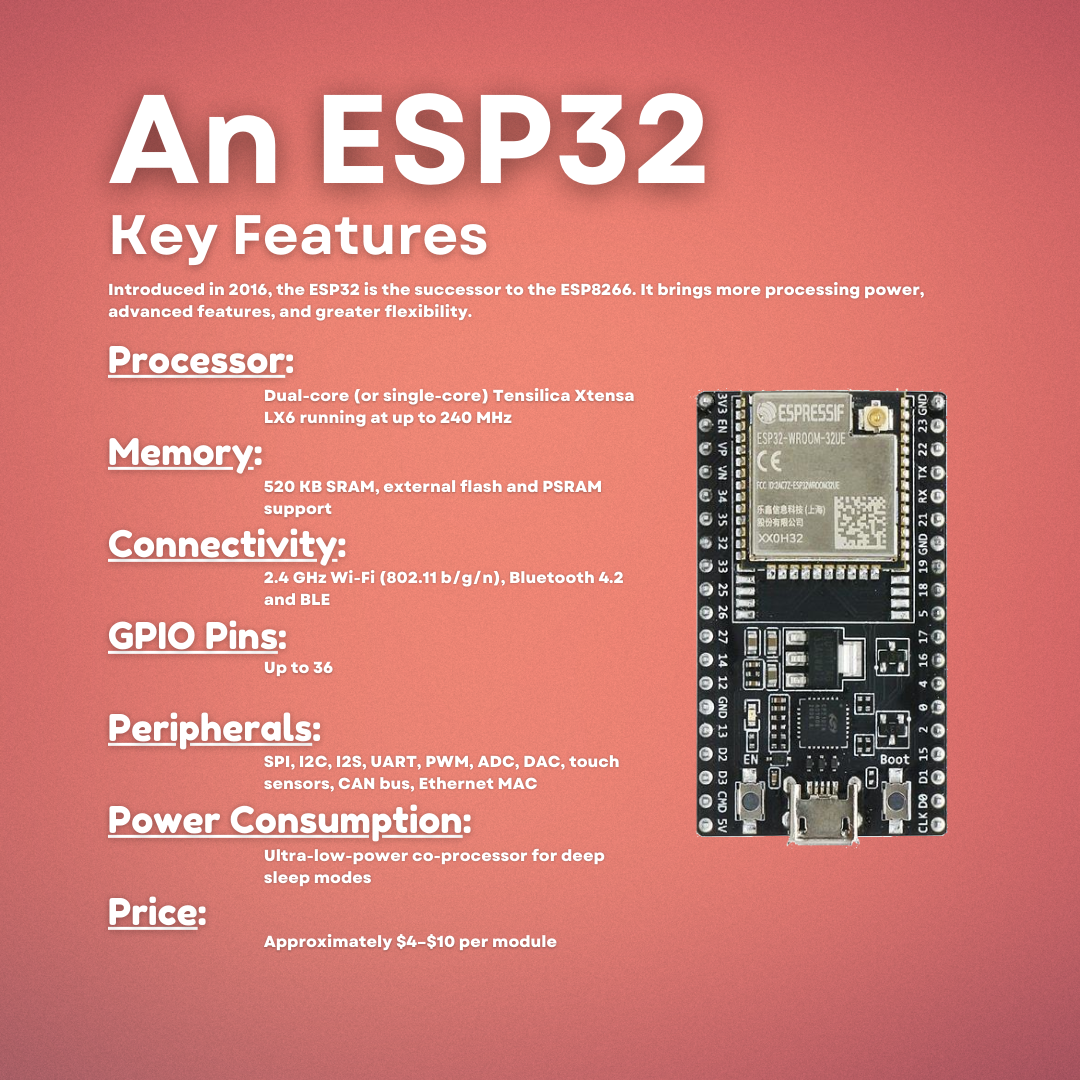
- ESP32: Dual-core processor running at 160 to 240 MHz.
When comparing the ESP8266 and ESP32 microcontrollers, several key differences emerge that can influence your project choice. The ESP32 significantly outperforms the ESP8266 in processing power, featuring a dual-core processor running at 160 to 240 MHz, while the ESP8266 has a single-core processor at 80 MHz. This makes the ESP32 better suited for computationally intensive tasks.
Example: If you're building a voice-controlled assistant or a complex sensor network, the ESP32's dual-core processing can handle more simultaneous tasks, while the ESP8266 might struggle with heavy workloads.
2. Memory Capacity
- ESP8266: Limited RAM, which can restrict more complex applications.
- ESP32: Provides more SRAM and support for external PSRAM.
In terms of memory, the ESP8266's limited RAM can restrict complex applications. The ESP32 addresses this limitation by providing more SRAM and support for external PSRAM. This extra memory is beneficial for applications that require large buffers or need to run multiple tasks simultaneously.
Example: Need to stream sensor data to a cloud service while running a local algorithm? The ESP32 is up to the task, whereas the ESP8266 might hit memory limits.
3. Connectivity
- ESP8266: Wi-Fi only.
- ESP32: Wi-Fi and Bluetooth (Classic and BLE).
Connectivity options also set these two microcontrollers apart. The ESP8266 offers Wi-Fi connectivity only, whereas the ESP32 includes both Wi-Fi and Bluetooth (Classic and BLE). This additional Bluetooth capability allows the ESP32 to connect with a wider range of devices, offering more versatile connectivity options.
Example: For projects like Bluetooth-enabled smart locks or fitness trackers that need to communicate with phones, the ESP32 is a must. The ESP8266, with Wi-Fi only, is great for simple IoT devices like smart plugs or weather stations.
4 & 5. GPIO Pins and Peripherals
- ESP8266: Fewer GPIO pins, fewer peripherals.
- ESP32: More GPIO pins, higher-resolution ADCs, DACs, touch sensors, and other advanced peripherals.
The ESP32 surpasses the ESP8266 in GPIO pins and peripherals as well. It provides more GPIO pins and a richer set of peripherals, including higher-resolution ADCs, DACs, touch sensors, and more. This means the ESP32 offers greater flexibility for interfacing with sensors, actuators, and other devices.
Example: If you’re building a home automation system with multiple inputs (e.g., sensors and relays), the ESP32’s additional GPIO pins make it a better option. For simpler projects with fewer peripherals, the ESP8266 might be all you need.
6. Power Consumption
- ESP8266: Efficient but lacks ultra-low-power modes.
- ESP32: Features ultra-low-power co-processor and multiple sleep modes.
Regarding power consumption, the ESP8266 is efficient but lacks ultra-low-power modes. The ESP32 includes an ultra-low-power co-processor and multiple sleep modes, making it superior for battery-powered applications due to its advanced power management features.
Example: A solar-powered outdoor sensor that needs to run for months on end will benefit from the ESP32’s efficient power-saving capabilities.
7. Cost Considerations
- ESP8266: Cheaper, typically around $2–$4.
- ESP32: Slightly more expensive, ranging from $4–$10.
However, if budget is a primary concern, the ESP8266 has the advantage. It is cheaper and ideal for cost-sensitive projects, while the ESP32 is slightly more expensive due to its advanced features. Therefore, your choice between the two might depend on whether you prioritize performance and features or cost.
Example: For a project like a temperature logger or a single-function IoT device, the ESP8266 offers great value for money. But if you’re building a feature-packed device, the ESP32’s extra cost is worth the investment.

Choosing between ESP8266 and ESP32
So, how do you decide which one is right for you?
Choose ESP8266 if:
If your project requires basic Wi-Fi connectivity, and minimal processing power, the ESP8266 is an excellent choice. It's ideal for simple IoT devices where keeping costs low is crucial, making it perfect for cost-sensitive projects. The ESP8266 is also suitable if you don't need many GPIO pins or advanced peripherals, addressing limited hardware needs efficiently. For those new to IoT and microcontrollers, it's a great starting point for educational purposes due to its simplicity and ease of use.
Example: The ESP8266 is great for projects like a Wi-Fi-enabled light switch or a temperature monitor where the task is simple and budget matters.
Choose ESP32 if:
On the other hand, the ESP32 is better suited for advanced applications that demand more processing power and the ability to multitask. If your project needs Bluetooth support, the ESP32's built-in Bluetooth connectivity becomes essential. It offers more GPIO pins and advanced peripherals like DACs and touch sensors, making it ideal when multiple peripherals are required. For battery-powered devices, the ESP32's efficient sleep modes make it a superior choice due to its low-power capabilities. Additionally, if you anticipate scaling your project or adding features later, the ESP32 provides the flexibility needed for future-proofing.
Example: If you’re building a smart home hub that controls multiple devices and needs both Wi-Fi and Bluetooth communication, the ESP32 is your best bet.
Both the ESP8266 and ESP32 are powerful microcontrollers that can bring your IoT projects to life. The choice between them depends on your specific project needs. If you're working on a simple, cost-sensitive project that primarily requires Wi-Fi connectivity, the ESP8266 is the ideal option. However, if you need more processing power, advanced features, Bluetooth connectivity, or better power management, the ESP32 is the better choice. By carefully considering the requirements of your project, you can select the microcontroller that offers the best balance of performance, features, and cost.
Resources
Here are some helpful tools and products to get you started:
Hardware Recommendations
- ESP8266 Development Board: Check it out here
- ESP32 Development Board: Check it out here
- Breadboard and Jumper Wires: Check it out here
- Universal USB DATA Cable: Check it out here
- Power Supply: Check it out here
Software & Tools
- ESPHome: Download ESPHome here
- Arduino IDE: Download here
- Home Assistant: Learn more here
- OpenHAB: Learn more here
- Tasmota: Learn more here
Helpful Links
- ESP8266 Documentation: Read more here
- ESP32 Documentation: Read more here
Feel free to explore these resources to gather everything you need for your project!
💡 Important Disclosure
This article contains affiliate links, which means I may earn a small commission if you click through and make a purchase—at no additional cost to you. These commissions help support the ongoing creation of helpful content like this. Rest assured, I only recommend products and services I personally use or genuinely believe can provide value to you.
Thanks for Your Support!
I truly appreciate you taking the time to read my article. If you found it helpful, please consider sharing it with your friends or fellow makers. Your support helps me continue creating content like this.
- Leave a Comment: Got questions or project ideas? Drop them below—I'd love to hear from you!
- Subscribe: For more tutorials, guides, and tips, subscribe to my YouTube channel and stay updated on all things tech!
- Shop & Support: If you're ready to get started, check out the recommended products in my articles using my affiliate links. It helps keep the lights on without costing you anything extra!
Thanks again for being part of this community, and happy building!
