ESPHome Guide: Getting Started, Common Challenges, and Troubleshooting Tips
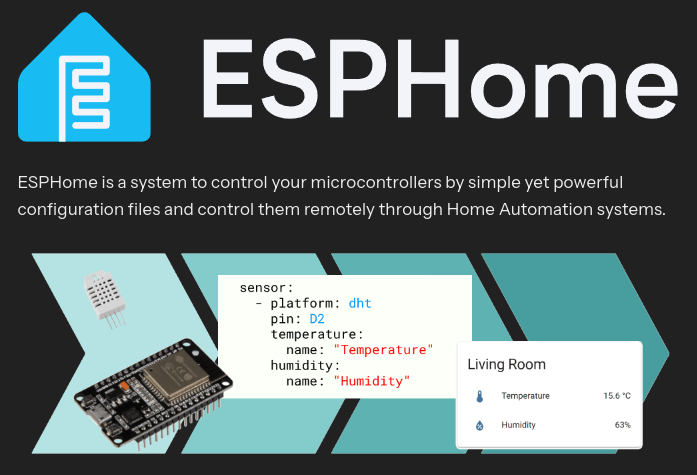
ESPHome is a powerful platform for creating custom smart home automation devices using ESP32 and ESP8266 microcontrollers. Easily integrate sensors, lights, switches, and more using simple YAML configuration files.
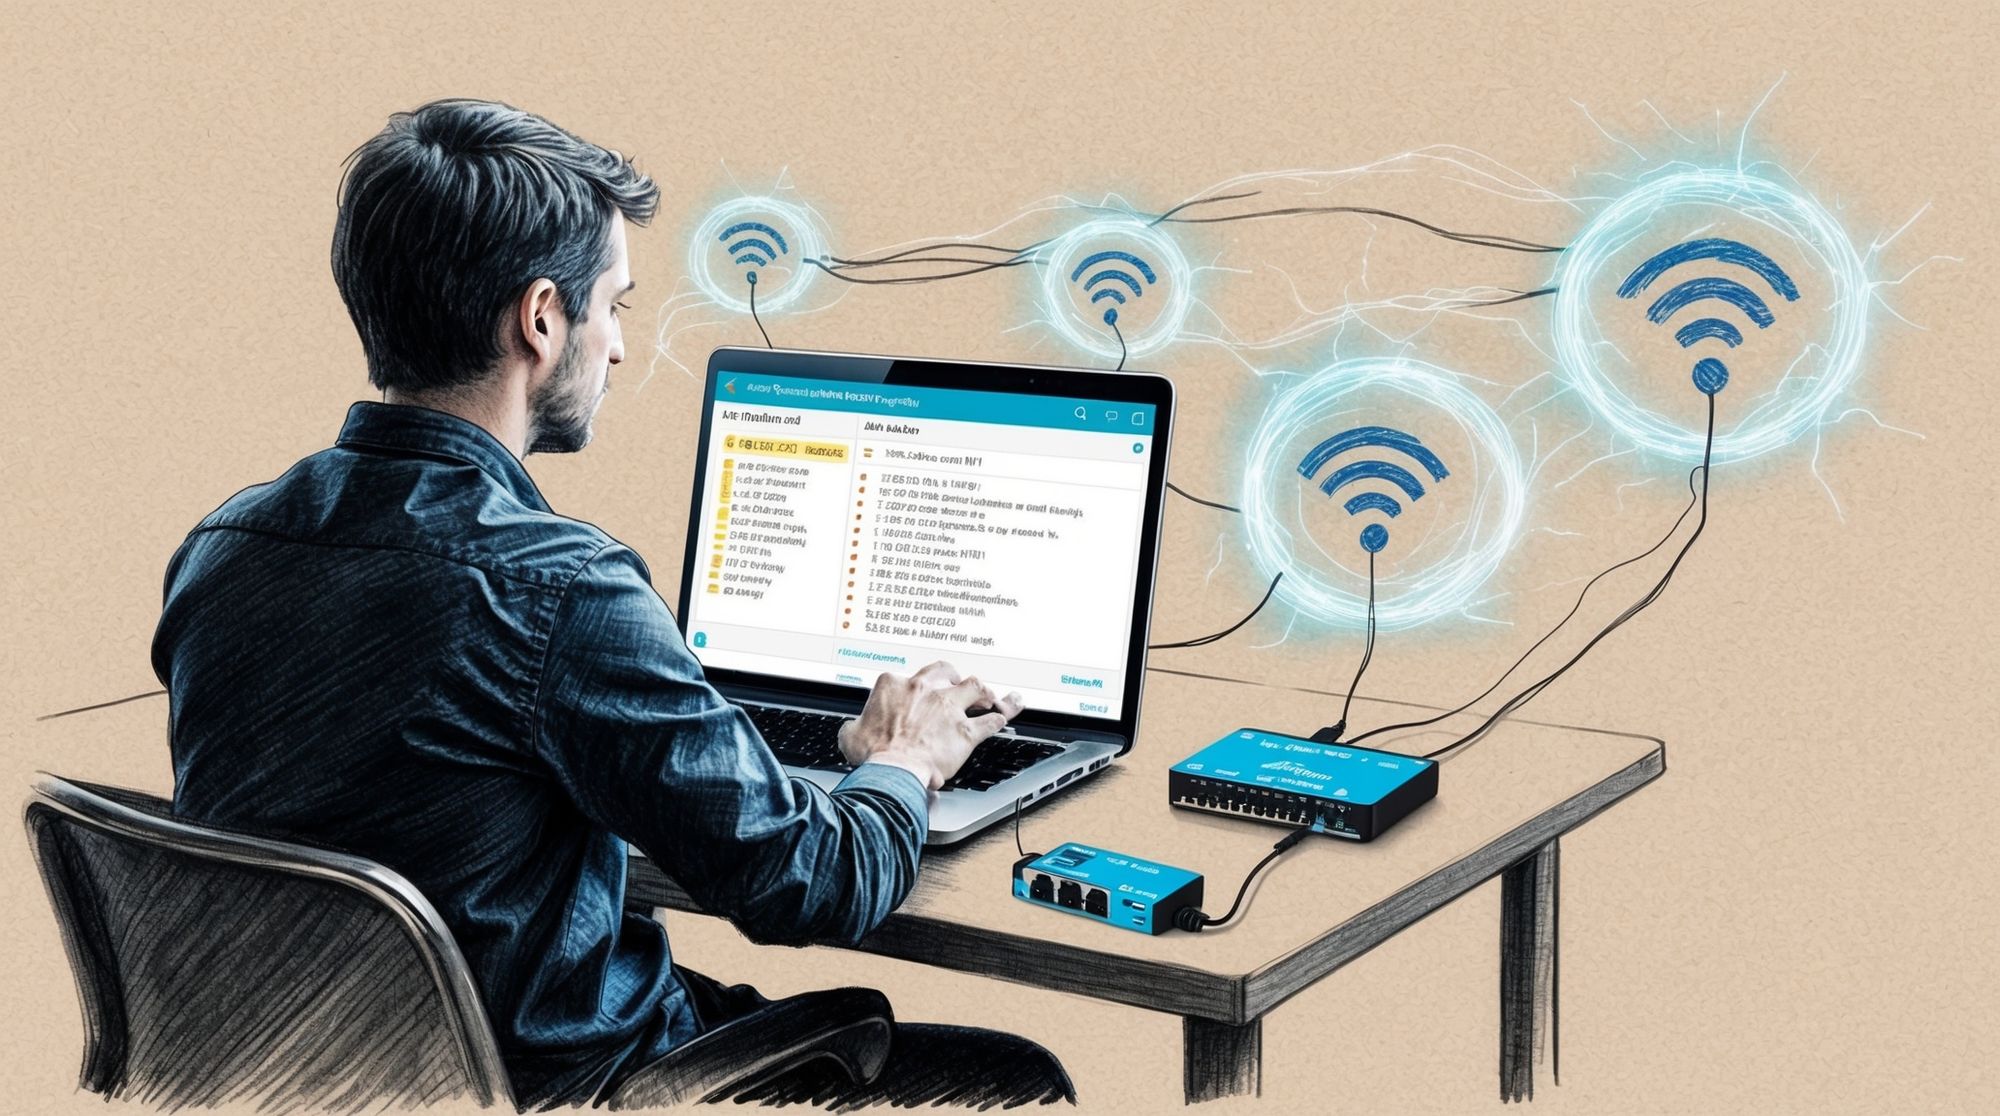
When it comes to smart home automation, ESPHome has become one of the go-to tools for many, including me. It offers incredible flexibility and the ability to seamlessly integrate ESP32 or ESP8266 boards into a home automation system of your choice, like Home Assistant, OpenHAB, and more. However, if you're just starting out, this flexibility can also be overwhelming. From the sea of available hardware options to conflicting tutorials, it’s easy to feel lost before you even begin.
I’ve been there, too—staring at a pile of ESP32 boards and parts, wondering where to start. So, whether you’re new to the world of home automation or have been tinkering with IoT devices for a while, in this article, we’ll dive into what ESPHome is, how to get started, and hopefully some tips that will be useful to new as well as experienced users. With ESPHome, you have countless options for building anything from a simple temperature sensor to a completely customized smart thermostat.
What is ESPHome?
At its core, ESPHome is an open-source platform that lets you control and monitor your home automation devices using the power of ESP32 and ESP8266 boards, among others. Now, if you're already familiar with these boards, you know they're highly versatile, affordable, and great for connecting everyday electronics to the internet, making up what's known as the IoT (Internet of Things). But what sets ESPHome apart is how it streamlines the process of using these boards to automate your home.
So, let’s break it down simply: ESPHome acts like the bridge between your "smart" devices and your central controller or system, like in the case of Home Assistant or OpenHAB. With it, you can create custom firmware for your boards that will handle everything from turning on your lights to measuring room temperature—all without needing to dive too deep into coding. It’s built for people who love tinkering but want to avoid getting lost in the technical weeds. You define everything in a simple YAML file, which sounds complicated but really isn’t. You’ll see in this guide how easy it can be to set up.
This means you're no longer limited to whatever off-the-shelf devices you can find online. With ESPHome, you can design and build exactly what you need, turning your ideas into reality—whether that’s something completely unique or a customized solution that doesn’t exist anywhere else. Only your imagination can limit the possibilities.

Common Challenges
One of the biggest hurdles people face when diving into ESPHome is the sheer amount of information available. Trust me, I’ve been there—watching endless YouTube tutorials, reading blog after blog, and still not understanding why my ESP32 wouldn’t connect to Wi-Fi. With every tutorial using a different approach, hardware setup, or even programming language, the learning curve can feel steep, especially when you're just starting out.
The excitement of smart home automation can quickly turn to frustration when you encounter conflicting resources and different methods. Here are some of the common challenges beginners often face when working with ESPHome:
- Hardware Confusion: You’ve probably come across dozens of different ESP32 and ESP8266 models, each with varying features, pin layouts, and price points. Not to mention all the sensors and other gadgets you can attach! Which board is best? What sensors do I need?
- Software Complexity: ESPHome is powerful, but if you’ve never worked with YAML files or flashed firmware before, it can feel intimidating. There’s also the question of whether you’re using the right firmware for your specific board, not to mention how to actually write the configuration code. One wrong character in your YAML file, and suddenly, nothing works!
- Conflicting Tutorials: There are a ton of great resources out there, but the problem is, they don’t always agree with each other. One tutorial might recommend using ESPHome, another might focus on Arduino language, and yet another could dive into the Espressif IoT Development Framework (ESP-IDF). To complicate things further, Home Assistant is frequently updated, meaning older tutorials in your chosen language may no longer work.
Despite these initial challenges, it's important to remember that ESPHome’s complexity is also what makes it so powerful and flexible. By starting small and mastering each component gradually, you can overcome the confusion around hardware, YAML files, and conflicting tutorials. The key to unlocking the full potential of ESPHome is through continuous learning, and the most reliable way to do this is by exploring the numerous pages of documentation available on the official ESPHome website.
Now, let’s move forward and dive into the practical steps of Getting Started with ESPHome, where you’ll see how easy it can be to go from hardware in hand to a functioning smart home device.
Getting Started with ESPHome
But here’s the good news: You don’t need to learn everything all at once. In fact, starting small is the key to success when it comes to ESPHome. Rather than trying to build a fully automated smart home on day one, I recommend focusing on one project—something simple like getting a sensor to send temperature data to your system of choice. Once you’ve got one device up and running, the rest will come a lot easier. It’s like putting together a puzzle—start with the edge pieces before tackling the whole picture.
In this section, I’ll walk you through everything you need to know to get started with ESPHome. Let’s dive in!
Hardware Requirements
To begin, you'll need a few key components. Here's a list to help you gather what you need:
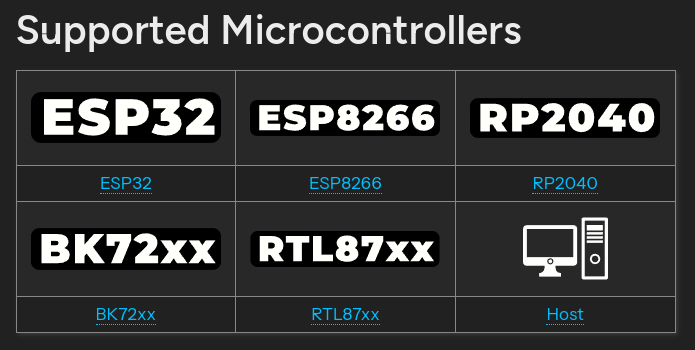
- ESP32 or ESP8266 Board: These are the microcontrollers that will act as the "brains" of your smart devices. Common models include the NodeMCU or a Wemos D1 Mini for ESP8266. However, if you’re just starting out, I recommend going with the ESP32 since it offers more power and capabilities than the ESP8266.
- USB DATA Cable: This connects your ESP device to your computer for flashing the initial firmware.
- Sensors or Actuators: Depending on your project, you’ll likely want sensors (like temperature or humidity sensors) or actuators (such as relays for controlling lights or appliances). It’s important to note that the specific components you choose will vary based on the requirements of your project.
- Computer: You’ll need this to flash the ESPHome firmware onto your device and to configure it.
Once you have your hardware ready, it's time to move on to the software side.
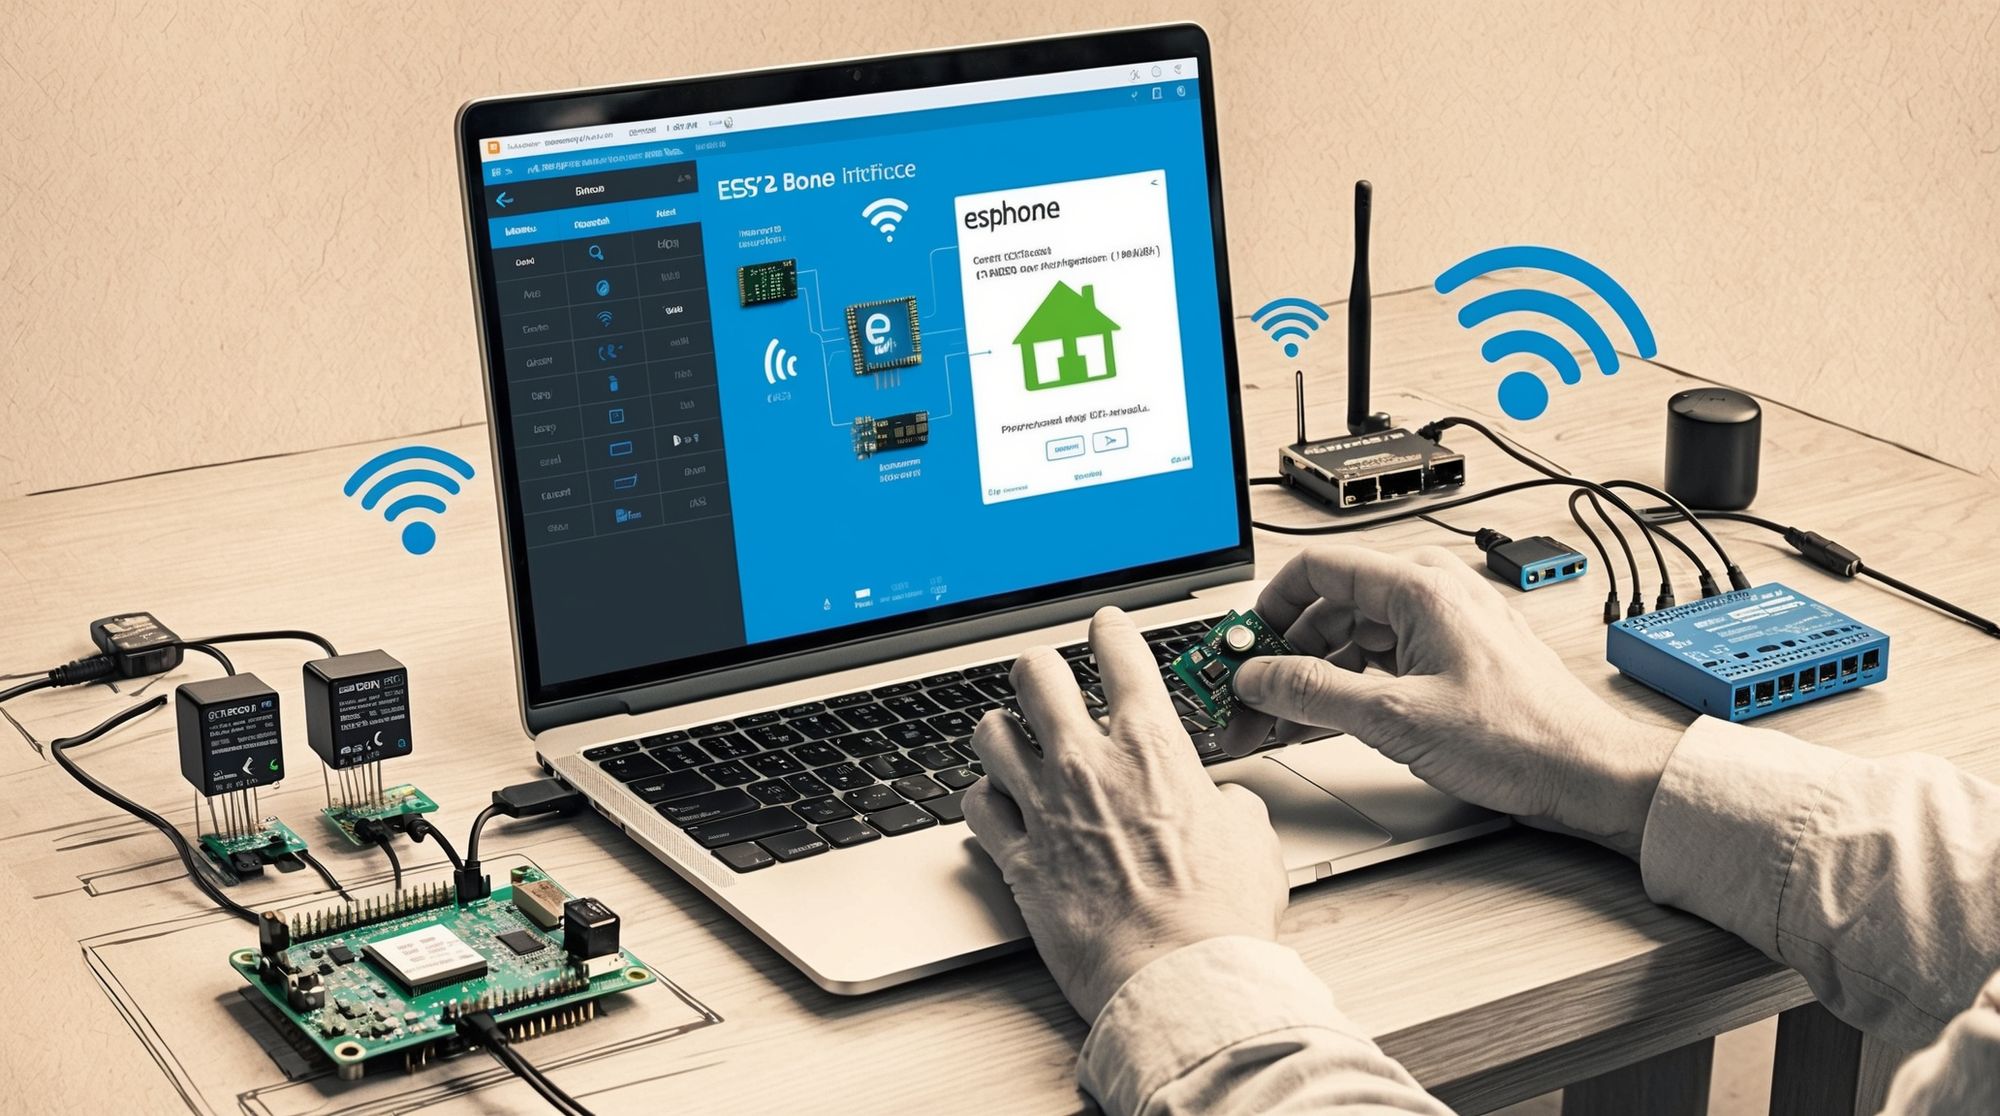
Installation Methods
ESPHome provides several ways to flash your devices and manage configurations. I’ll cover the three most popular methods, each catering to different levels of experience and setup requirements.
-
Online ESPHome Tool (Beginner-Friendly / Quick)
For newcomers or those who want the quickest way to get started without complex setup, the ESPHome Web tool (available at web.esphome.io) is perfect. This web-based tool allows you to flash your ESP device directly from your browser without needing any extra software. Here's how:- Connect Your Device: Plug your ESP32 or ESP8266 board into your computer via USB.
2.Visit the ESPHome Web Interface: Open your browser and go to web.esphome.io.
3.Click 'Connect': Choose your device from the list.
4.Select Firmware: You can either use the default template or upload your own custom ESPHome firmware if you’ve already built a configuration.
5.Flash Your Device: The online tool will handle the flashing process for you. It’s that simple.
- Connect Your Device: Plug your ESP32 or ESP8266 board into your computer via USB.
This method is ideal for beginners and saves time when you just want to get your device up and running quickly.
-
Home Assistant Add-On (Best for Seamless Integration)
If you’re using Home Assistant, ESPHome integrates beautifully as an add-on, streamlining the entire process from flashing to managing your devices. Here’s how to set it up:- Open Home Assistant: Head to your Home Assistant dashboard
- Navigate to the Add-On Store: In the left-hand sidebar, click on Settings and then Add-Ons.
- Install ESPHome: Search for ESPHome in the add-ons and hit install.
- Start the Add-On: Once installed, start the ESPHome add-on and open its web UI.
- Create Your First Node: The web UI will guide you through setting up your first ESPHome node, including entering your Wi-Fi credentials, board type, and sensor configurations.
- Flash Your Device: You can connect your ESP32 or ESP8266 to your Home Assistant server via USB for the first flash. After that, ESPHome supports OTA (Over-the-Air) updates, making future updates a breeze.
This method is fantastic if you’re planning to integrate multiple ESP devices into your Home Assistant setup for seamless control and monitoring.
-
Standalone ESPHome Installation (More Advanced / Command-line Only)
For those of you who want more control over your setup or prefer not to use Home Assistant, you can install ESPHome locally on your computer. This method gives you the flexibility to manage your ESP devices without relying on additional platforms. The first step is to install Python 3 on your system, as ESPHome uses Python to manage its configuration and flashing process. Once Python is installed, open your terminal (or command prompt on Windows) and install ESPHome by running the following command:pip install esphomeThis command will download and install ESPHome directly onto your system, making it ready to manage your ESP projects. Next, you can create a new configuration file using the ESPHome wizard. This file will store all the settings for your device, including Wi-Fi credentials, the type of board you're using, and the sensors or actuators you plan to control. To start the wizard, use this command:
esphome wizard living_room.yamlHere, we are creating a new YAML configuration file called living_room.yaml, and the wizard will guide you through the setup process. It will ask for details like your Wi-Fi credentials and the type of ESP board you’re using (for example, ESP32 or ESP8266). After completing this, you’ll have a ready-to-go configuration file.
To flash your ESP device with the newly created firmware, run the following command:
esphome run living_room.yamlThis command compiles your YAML configuration into firmware and flashes it onto your ESP device. The first time you do this, you’ll need to connect your ESP board to your computer using a USB cable, but future updates can be done Over-the-Air (OTA), meaning you won’t need to physically reconnect the board for each update.
Basic Configuration
Once your hardware is set up and you’ve chosen an installation method, it’s time to dive into YAML configurations. ESPHome uses YAML files to define how your ESP devices behave. While this might sound intimidating, it’s actually quite simple once you get the hang of it.
Here’s a basic example of how to configure a DHT22 temperature and humidity sensor on an ESP32:
esphome:
  name: living_room_sensor   # This sets the name of your ESP device.
  platform: ESP32            # This sets the board type.
  board: nodemcu-32s         # This sets the specific model of ESP32.

wifi:
  ssid: "YourWiFiSSID"       # The name of your Wi-Fi network.
  password: "YourWiFiPassword" # Your Wi-Fi password to connect the ESP device to your network.

sensor:
  - platform: dht            # This defines the type of sensor you're using.
    pin: GPIO4               # The GPIO pin which the sensor is connected.
    model: DHT22             # The specific model of DHT sensor (DHT11 or DHT22).
    temperature:
      name: "Living Room Temperature"  # Sets the name for the temperature sensor data.
    humidity:
      name: "Living Room Humidity"     # Sets the name for the humidity sensor data.

logger:
  level: DEBUG               # This enables detailed logging to help with debugging your setup.
Once you’re comfortable with the basics, you can start extending your configuration to add more sensors and devices. The beauty of ESPHome is that it uses modular platforms to let you integrate a wide range of hardware.
For instance, let’s say you want to add an MS5611 Atmospheric Pressure Sensor. After acquiring the sensor, you can check ESPHome’s online repository for the proper YAML configuration snippet for that sensor. Here’s an example:
sensor:
  - platform: ms5611        # Defines the MS5611 sensor.
    pressure:
      name: "Outside Pressure"  # Labels the pressure data.
    address: 0x77           # I2C address of the sensor.
    update_interval: 60s    # The interval at which the data is updated (every 60 seconds).
You don’t need to repeat the sensor: line from the first sensor. Instead, just add another platform (like MS5611) under the same sensor section. Don’t forget the dash (-) before the platform name, which indicates a list item in YAML.
As you grow more comfortable with ESPHome, you can start adding more components—such as switches, lights, or even custom automations—by simply editing the YAML configuration file. This flexibility allows you to control nearly any device connected to your ESP board, from simple temperature sensors to complex multi-device setups.
Common Troubleshooting Tips
As you dive deeper into ESPHome, you’ll start encountering more complex setups and occasional hiccups. Knowing how to troubleshoot your devices will ensure smooth operations. In this section, we’ll explore some tips for troubleshooting issues and optimizing your ESPHome configuration for better performance and reliability.
1. Wi-Fi Stability and Connection Issues
A reliable Wi-Fi connection is the backbone of any ESPHome device. However, if your device fails to connect or keeps dropping off, there are a few things you can check:
- 2.4 GHz Network: Ensure your router is broadcasting on the 2.4 GHz band since ESP8266 and ESP32 devices often don’t support 5 GHz.
- Signal Strength: Weak signals can lead to frequent disconnects. Consider bringing the device closer to your router or using a Wi-Fi extender.
- Static IPs: Assigning a static IP to each ESP device can reduce network discovery issues and improve connection stability.
2. Handling OTA Update Failures
While Over-the-Air (OTA) updates make firmware management easy, sometimes they can fail due to connectivity issues or firmware size:
- Device Accessibility: If your ESP device is unreachable via OTA, restart the device and router to restore the connection.
- Optimize Firmware Size: ESP devices have limited flash memory. Removing unnecessary components from your YAML configuration can reduce firmware size and make OTA updates more reliable.
3. Debugging with Advanced Logging
Advanced logging can give you a deeper understanding of what’s happening with your ESP devices. Use VERBOSE logging to monitor detailed events, such as sensor data readings, Wi-Fi connection attempts, and errors:
- Debug Power Issues: If your device freezes or reboots unexpectedly, verbose logs can point to possible power supply issues, sensor overloads, or software bugs.
- Optimize Component Performance: Track how individual components (like sensors or switches) perform and troubleshoot latency or slow response times by examining logs in real time.
4. Firmware Flashing and Bootloader Issues
The initial flashing of your ESP device is critical for getting it up and running. If you encounter issues during flashing:
- Correct Boot Mode: Ensure your ESP device is in bootloader mode when flashing for the first time. Typically, this involves holding down the BOOT or FLASH button on your board while plugging it into your computer.
- Check USB Cable: Some USB cables only support power and not data transfer. Make sure you’re using a data-capable cable when flashing firmware.
- Driver Installation: Ensure that your computer has the correct drivers for the USB-to-serial converter (such as CP2102 or CH340), particularly on Windows systems.
5. Security Best Practices
Securing your ESPHome devices is critical, especially if they’re connected to your home network:
- Enable API Encryption: This adds a layer of protection by encrypting communication between your ESP devices and Home Assistant.
- Use Strong Passwords: Ensure that your Wi-Fi and API credentials use strong, unique passwords to prevent unauthorized access to your devices.
- Keep Firmware Updated: Regularly updating both your ESPHome installation and your ESP devices will ensure you have the latest security patches and features.
ESPHome is an incredibly powerful yet user-friendly tool for smart home automation. Whether you’re just getting started or have experience in the world of IoT, ESPHome offers flexibility and ease of use that few other platforms can match. By using ESPHome, you can turn everyday devices into smart gadgets, monitor your environment, and control your home effortlessly, using affordable ESP32 and ESP8266 boards.
At the end of the day, ESPHome is about customization. It allows you to move beyond the limitations of off-the-shelf devices and create smart home systems tailored specifically to your needs. The learning curve may seem steep at first, but with patience and the right resources, you’ll soon be building an automated environment that’s entirely your own. So, take it one project at a time, and before you know it, you’ll be an expert at creating powerful, customized smart home solutions.
Resources
ESPHome documentation
ESP32 Overview
ESP8266 Overview
Home Assistant community discussions
OpenHAB community discussions
💡 Important Disclosure
This article contains affiliate links, which means I may earn a small commission if you click through and make a purchase—at no additional cost to you. These commissions help support the ongoing creation of helpful content like this. Rest assured, I only recommend products and services I personally use or genuinely believe can provide value to you.
Thanks for Your Support!
I truly appreciate you taking the time to read my article. If you found it helpful, please consider sharing it with your friends or fellow makers. Your support helps me continue creating content like this.
- Leave a Comment: Got questions or project ideas? Drop them below—I'd love to hear from you!
- Subscribe: For more tutorials, guides, and tips, subscribe to my YouTube channel and stay updated on all things tech!
- Shop & Support: If you're ready to get started, check out the recommended products in my articles using my affiliate links. It helps keep the lights on without costing you anything extra!
Thanks again for being part of this community, and happy building!