Powering Your Arduino Projects with Solar Energy
Learn how to set up a solar-powered Arduino system with our comprehensive guide. Discover components, sizing, challenges, and practical applications for eco-friendly, off-grid projects.
Harnessing solar power to run your Arduino projects is an eco-friendly, cost-effective, and innovative way to bring your DIY electronics to life. This guide will walk you through the process of setting up a solar-powered Arduino system, explaining the benefits, challenges, and practical applications. Whether you're a beginner or an experienced maker, you’ll discover how to create sustainable, off-grid projects that enhance both creativity and functionality.
For a deeper dive into getting started with Arduino or learning how to program it, check out our beginner’s guides: Getting Started with Arduino: A Beginner’s Guide to Building DIY Electronics and Learn Arduino Programming: A Simple Guide to Writing Your First Sketch.
Why Solar Power for Arduino?
Powering your Arduino projects with solar energy offers a host of benefits, making it a compelling choice for hobbyists and tech enthusiasts alike. Here’s why:
- Environmentally Friendly: Solar energy is a renewable resource, helping you reduce your carbon footprint while promoting sustainable practices in your projects.
- Cost-Effective Over Time: Although the initial cost of setting up solar panels can be higher, the energy they generate is essentially free, making this a budget-friendly solution in the long run.
- Perfect for Remote Applications: Whether you're creating an outdoor weather station, a garden monitoring system, or a wildlife tracker, solar power eliminates the need for grid access, enhancing portability and autonomy.
- Flexible and Scalable: Solar setups can be tailored to your project’s specific energy requirements. Start small and expand your system as needed without overhauling your design.
Popular Use Cases for Solar-Powered Arduino Projects
Solar-powered Arduino projects are versatile and practical for a variety of applications, especially in off-grid and outdoor scenarios. Here are some of the most popular use cases:
- Environmental Monitoring: Harness solar power for remote weather stations, soil moisture sensors, and air quality monitors. These systems can operate continuously in outdoor environments without the need for manual battery replacement, making them ideal for agricultural or scientific research.
- IoT Devices: Power smart devices like garden irrigation controllers, security cameras, or wildlife trackers. Solar energy ensures these devices function reliably in remote locations, even when grid power is unavailable.
- Outdoor Robotics: Create solar-powered robots or automation systems that operate autonomously. From lawn care robots to drone charging stations, solar energy enables uninterrupted functionality in open-air environments.
- Smart Agriculture: Monitor crop health, track water usage, or automate irrigation systems. Solar-powered Arduino setups are particularly valuable for farmers seeking sustainable and cost-effective solutions.
- Educational Projects: Incorporating solar panels into Arduino-based experiments offers students hands-on experience with renewable energy, inspiring them to develop innovative, eco-conscious solutions.
Solar-powered Arduino projects not only push the boundaries of creativity but also encourage sustainable innovation in fields ranging from agriculture to robotics.
Components You’ll Need
Building a solar-powered Arduino project requires a few essential components to ensure efficient and reliable operation. Here’s what you’ll need:
Core Components
- Solar Panel: Select a panel with adequate power output for your project. For most Arduino applications, a 6V or 12V panel works well. Ensure the panel is rated to handle the energy demands of your sensors and modules during peak operation.
- Charge Controller: Protect your rechargeable battery from overcharging and ensure safe energy transfer. A charge controller helps regulate the voltage and current coming from the solar panel to match your battery's requirements.
- Rechargeable Battery: Store solar energy for use during low-light or nighttime conditions. Lithium-ion (Li-ion) or lead-acid batteries are common choices; ensure the capacity matches your project’s energy consumption.
- Arduino Board: Choose an Arduino board based on your project’s complexity. Boards like the Arduino Uno, Nano, or Pro Mini are common picks for solar-powered projects due to their low power consumption.
Optional Components
- DC-DC Converter: If your solar panel or battery voltage doesn’t match your Arduino’s power requirements, a DC-DC converter ensures the voltage is regulated for stable operation.
- Sensors and Modules: Expand the functionality of your project by adding sensors such as:
- Temperature: Monitor environmental changes.
- Humidity: Track moisture levels for agricultural applications.
- Light Detection: Adjust your system based on sunlight intensity.
- Wireless Modules: Enable remote data transmission via Wi-Fi or LoRa.
Additional Accessories
- Wiring and Connectors: Ensure secure and efficient connections between components.
- Enclosure: Protect your solar panel and electronics from the elements, especially in outdoor applications.
Investing in the right components ensures your solar-powered Arduino setup is efficient, reliable, and capable of meeting your project’s needs.
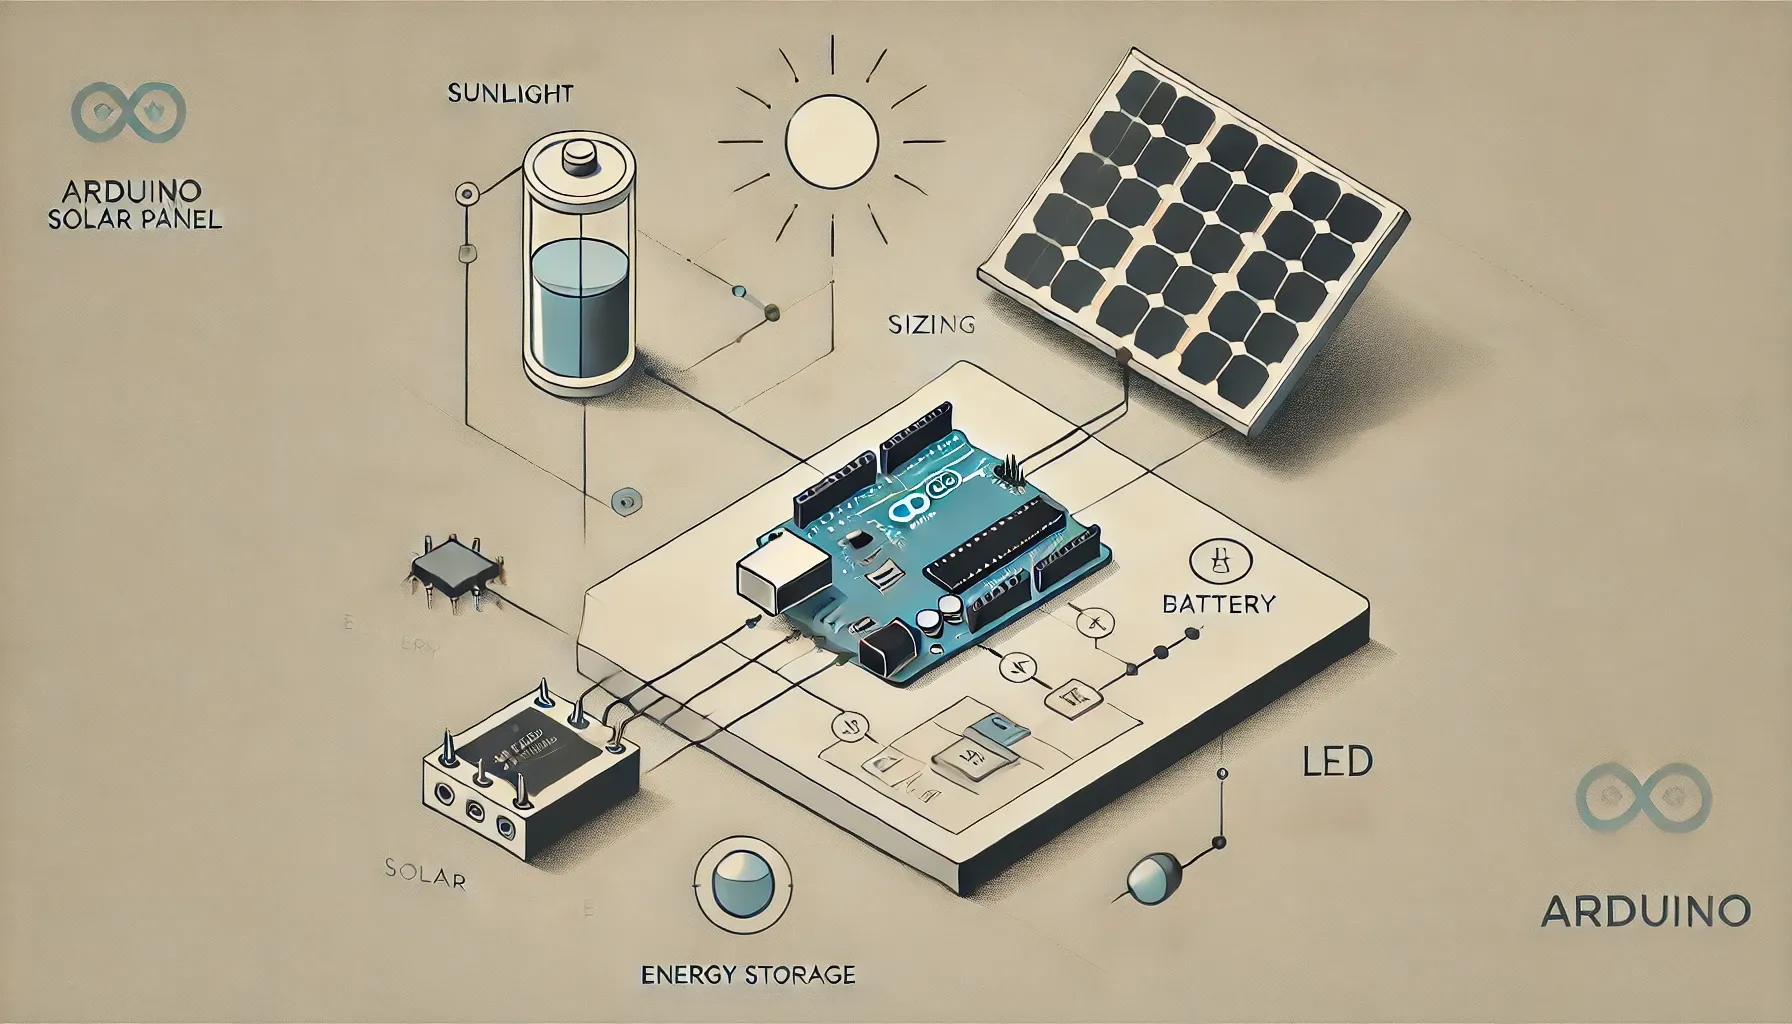
How to Size Your Solar Setup
Properly sizing your solar setup ensures your Arduino project runs smoothly, even during low-light conditions. Follow these steps to determine the right components for your setup:
Step 1: Calculate Power Requirements
Understanding your project’s power needs is the foundation of a reliable solar setup.
- Measure Power Consumption: Determine how much current your Arduino board and connected components use. For instance:
- An Arduino Uno typically consumes 50 mA at 5V.
- Sensors, modules, or additional hardware will add to this baseline consumption.
- Use the Power Formula:
- Power (Watts) = Current (Amps) × Voltage (Volts)
- Example: An Arduino Uno and a temperature sensor using 60 mA at 5V consume:
- Current = 0.06 A (60 mA)
- Voltage = 5 V
- Power = 0.06 × 5 = 0.3 W
Add a safety margin (around 20–30%) to account for variations in power usage or inefficiencies.
Step 2: Choose the Right Solar Panel
With your power requirements calculated, select a solar panel that meets or exceeds these needs.
- Account for Inefficiencies: Choose a panel with a wattage rating slightly higher than your calculated power consumption. For instance:
- If your project needs 0.3W, consider a 1W solar panel to handle power losses due to inefficiencies or cloudy weather.
- Match Voltage: Ensure the panel’s output voltage is compatible with your charge controller and battery setup, typically 6V or 12V for small Arduino projects.
Step 3: Select an Appropriate Battery
A properly sized battery stores enough energy to power your Arduino during periods without sunlight.
- Determine Battery Capacity: Calculate how much energy your project needs over a given time period (e.g., overnight operation).
- Example: A project consuming 0.3W for 10 hours requires:
- Energy = 0.3 × 10 = 3 Wh
- A 6V battery with a capacity of at least 2,000 mAh (12 Wh) would suffice, with extra capacity to account for inefficiencies.
- Example: A project consuming 0.3W for 10 hours requires:
- Consider Voltage: Match the battery voltage to your solar panel and charge controller. For Arduino projects, 6V or 12V rechargeable batteries are common choices.
By carefully sizing your solar setup, you can ensure your Arduino project runs reliably, maximizing performance while minimizing power interruptions.
Building Your Solar-Powered Arduino System
Creating a reliable solar-powered Arduino system involves setting up components correctly to ensure efficiency and safety. Follow these step-by-step instructions:
Step 1: Connect the Solar Panel to the Charge Controller
The charge controller plays a crucial role in regulating the flow of electricity from the solar panel to the battery, preventing overcharging or deep discharging that could damage the battery.
- Steps to Connect:
- Locate the input terminals on your charge controller (usually labeled "Solar" or "PV").
- Connect the positive (+) and negative (-) terminals of the solar panel to the corresponding input terminals on the controller.
- Double-check the polarity to avoid damaging the controller.
- Ensure all connections are secure to prevent energy loss or short circuits.
Step 2: Connect the Battery to the Charge Controller
The battery stores excess energy generated by the solar panel, ensuring your Arduino can run during low sunlight or nighttime hours.
- Steps to Connect:
- Identify the output terminals on the charge controller (commonly labeled "Battery").
- Connect the positive (+) and negative (-) terminals of the battery to the respective output terminals on the controller.
- Secure the connections to maintain stable energy flow and prevent disconnections.
Step 3: Power the Arduino
Once your battery is charged, you can power your Arduino using one of the following methods:
- Direct Connection:
- If your battery’s output voltage matches your Arduino’s requirements (e.g., 5V for an Arduino Uno), you can connect the battery directly to the Arduino's power input.
- Use the Vin or 5V pin for input, depending on your board specifications.
- DC-DC Converter:
- If your battery voltage does not match the Arduino’s requirements (e.g., a 12V battery for a 5V Arduino), use a step-down (buck) or step-up (boost) DC-DC converter to adjust the voltage.
- Connect the converter’s input terminals to the battery and its output terminals to the Arduino, ensuring the output voltage matches the Arduino’s specifications.
Pro Tip: Before connecting your Arduino, measure the voltage at each stage with a multimeter to ensure proper voltage. This step can help identify issues early and prevent damage to your components.
By following these steps, you’ll have a functional solar-powered Arduino system ready for outdoor or remote projects.
Optimizing Solar Efficiency
To get the most out of your solar-powered Arduino setup, it’s essential to maximize energy efficiency and minimize waste. Here are practical tips for optimizing performance:
Panel Placement
- Maximize Sunlight Exposure: Position the solar panel in a location that receives the most sunlight throughout the day. Avoid shaded areas caused by trees, buildings, or other obstructions.
- Align with Regional Latitude: Adjust the panel’s tilt angle to match your region’s latitude for optimal energy capture. For instance:
- If you’re in a region with a latitude of 40°, tilt the panel at approximately a 40° angle.
- Seasonal Adjustments: Consider changing the tilt angle during different seasons to account for the sun’s shifting position in the sky.
Energy Monitoring
Monitoring your system’s performance ensures it operates at peak efficiency and allows you to identify issues early.
- Arduino-Compatible Modules: Use modules like the INA219 to measure voltage, current, and power usage in real time. These sensors provide critical insights into how well your solar setup is functioning.
- Data Logging and Alerts: Pair the INA219 with an Arduino and a data logging module or wireless communication (e.g., Wi-Fi or LoRa) to track performance over time and receive alerts for potential inefficiencies.
Incorporating Sleep Modes
Reducing energy consumption is key for projects with intermittent activity or limited solar exposure.
- Use Sleep Modes: Program your Arduino to enter low-power sleep modes when sensors or modules aren’t actively in use. This reduces the load on your solar panel and battery.
- Example: Use the LowPower library for Arduino to put the board into a deep sleep state, consuming as little as a few microamps.
- Optimize Wireless Connectivity: For projects that rely on Wi-Fi or Bluetooth, implement strategies to minimize power usage. Enable sleep modes on wireless modules or reduce data transmission frequency.
Pro Tip: Check out our guide, Mastering Wireless Connectivity for Arduino: Adding Wi-Fi and Bluetooth, to learn more about integrating efficient wireless communication with your solar-powered projects.
Common Challenges and Solutions
While solar-powered Arduino setups are innovative and eco-friendly, they come with unique challenges. Here’s a breakdown of common problems and practical solutions:
1. Limited Sunlight
- Problem: Reduced power generation during cloudy days, winter months, or in shaded locations can lead to insufficient energy for your project.
- Solution:
- Upgrade to a Larger Battery: Increase your battery capacity to store more energy during sunny periods, ensuring uninterrupted operation during low-light conditions.
- Choose a Higher-Capacity Solar Panel: Opt for a panel that exceeds your project’s energy demands to compensate for reduced sunlight availability.
- Consider Dual-Panel Setups: Arrange panels to capture sunlight from multiple angles, especially useful in areas with inconsistent sunlight.
2. Voltage Instability
- Problem: Fluctuating voltage from the solar panel can damage your Arduino or connected components, leading to unreliable performance.
- Solution:
- Use a DC-DC Converter: Incorporate a step-up or step-down converter to regulate and stabilize voltage output, ensuring it remains within safe limits for your Arduino.
- Add Capacitors: Include capacitors in your circuit to smooth out voltage spikes and drops caused by rapid changes in sunlight intensity.
3. Overheating Components
- Problem: Solar panels, batteries, or electronic components can overheat when exposed to direct sunlight for extended periods, affecting their efficiency and lifespan.
- Solution:
- Use a Heat-Resistant Enclosure: Protect sensitive components with enclosures designed to withstand high temperatures.
- Provide Ventilation: Add vents to your enclosure to allow heat to dissipate naturally and prevent buildup.
- Shade Critical Components: Install a small shade or reflective cover over the battery and electronics to reduce direct heat exposure without obstructing the solar panel.
Pro Tip: Regularly inspect your solar-powered Arduino system for signs of wear, such as loose connections, discolored panels, or swelling in batteries. Addressing these issues early can extend the lifespan of your setup.
Example Project: Solar-Powered Weather Station
Let’s put everything together with a practical example: a solar-powered weather station. This project monitors temperature and humidity while operating autonomously using solar energy.
Components Needed
- Solar Panel: 6V, 5W panel to provide adequate power for the system.
- Charge Controller: Regulates energy transfer from the solar panel to the battery.
- Rechargeable Battery: A 3.7V LiPo battery for energy storage and power during low sunlight.
- Arduino Uno: The core microcontroller for processing sensor data.
- DHT22 Sensor: Measures temperature and humidity with high accuracy.
- ESP8266 Wi-Fi Module: Enables wireless data transmission to a remote server or dashboard.
Steps to Build the Weather Station
- Connect the Solar Panel to the Charge Controller:
- Attach the solar panel's positive (+) and negative (-) terminals to the charge controller’s input terminals (usually labeled "Solar").
- Ensure secure connections to avoid energy loss.
- Connect the Battery to the Charge Controller:
- Connect the 3.7V LiPo battery to the charge controller’s output terminals (labeled "Battery").
- Verify polarity to prevent damage.
- Power the Arduino Uno:
- Use a DC-DC Converter to step up the 3.7V battery output to 5V, suitable for powering the Arduino Uno.
- Connect the converter's output to the Arduino’s Vin or 5V pin.
- Wire the DHT22 Sensor:
- Connect the sensor’s VCC pin to the Arduino’s 5V pin and the GND pin to the Arduino’s ground.
- Attach the sensor’s DATA pin to a digital input pin on the Arduino (e.g., D2).
- Connect the ESP8266 Module:
- Power the ESP8266 module using a dedicated 3.3V regulator (if not built into the module).
- Wire the module's TX and RX pins to the Arduino’s corresponding pins for serial communication.
- Ensure proper level-shifting or logic compatibility between the 5V Arduino and 3.3V ESP8266.
- Upload the Arduino Code:
- Write or download a sketch to read data from the DHT22 sensor and send it to the ESP8266 module for wireless transmission.
- Use libraries like Adafruit DHT and ESP8266WiFi for streamlined development.
- Monitor and Test:
- Deploy your weather station in a location with optimal sunlight for the solar panel.
- Monitor the sensor readings via a dashboard or server to confirm the setup works as expected.
Features and Benefits
- Autonomous Operation: The solar-powered setup allows the weather station to run indefinitely without manual intervention.
- Remote Monitoring: The ESP8266 module sends real-time data to a cloud service, enabling remote access.
- Eco-Friendly Design: Using renewable solar energy reduces environmental impact.
This project demonstrates how you can combine sustainability with technology to create impactful, off-grid solutions.
Conclusion
Powering your Arduino projects with solar energy offers more than just an eco-friendly solution—it opens doors to innovative remote and off-grid applications. By thoughtfully sizing your components, optimizing for maximum efficiency, and tackling common challenges, you can create robust, reliable systems that operate sustainably and autonomously.
Whether you're building a weather station, automating outdoor tasks, or experimenting with renewable energy, solar power enables creativity without the constraints of grid dependency.
Ready to get started? Check out our guides on Getting Started with Arduino or Arduino Wireless Connectivity to take your projects to the next level.
Your next creation is just a ray of sunshine away!
💡 Important Disclosure
This article contains affiliate links, which means I may earn a small commission if you click through and make a purchase—at no additional cost to you. These commissions help support the ongoing creation of helpful content like this. Rest assured, I only recommend products and services I personally use or genuinely believe can provide value to you.
Thanks for Your Support!
I truly appreciate you taking the time to read my article. If you found it helpful, please consider sharing it with your friends or fellow makers. Your support helps me continue creating content like this.
- Leave a Comment: Got questions or project ideas? Drop them below—I'd love to hear from you!
- Subscribe: For more tutorials, guides, and tips, subscribe to my YouTube channel and stay updated on all things tech!
- Shop & Support: If you're ready to get started, check out the recommended products in my articles using my affiliate links. It helps keep the lights on without costing you anything extra!
Thanks again for being part of this community, and happy building!
Binary Tech Labs
YouTube content creator that provides tech tutorials and reviews on Home Assistant, IoT devices, Raspberry Pi and other Single Board Computers